
Start With the Room, Not the Rack
The question this guide answers is not which rack to buy. It is how to make a room fit for training — because the room, not the equipment, is where home gyms succeed or fail. Racks and barbells are mature products; the differences between good ones are small and well documented. The differences between rooms are enormous, and almost nobody documents them. We made that argument at length in the wrong half of the home gym. This guide is the other half: how to actually build the room.
Treated honestly, a training room is a small building-systems problem. It concentrates loads a residential floor was never sized for. It produces carbon dioxide, heat, and humidity at rates a bedroom never sees. It generates low-frequency structure-borne noise that ordinary construction transmits straight through. It needs light you can lift under and power that doesn't trip. Every one of those has an established discipline behind it — structural design, ventilation standards, acoustics, electrical code — and this guide walks through them in the order a project actually encounters them.
Almost no existing home was designed with a training room in it, so most home gyms are retrofits: a garage, a basement, a spare bedroom. That is a workable starting point, not a failure. But each borrowed room carries the constraints of its original job, and the work is knowing which constraints you can fix, which you can work around, and which should change where you put the gym.
The Numbers
Layout, Clearances and Circulation
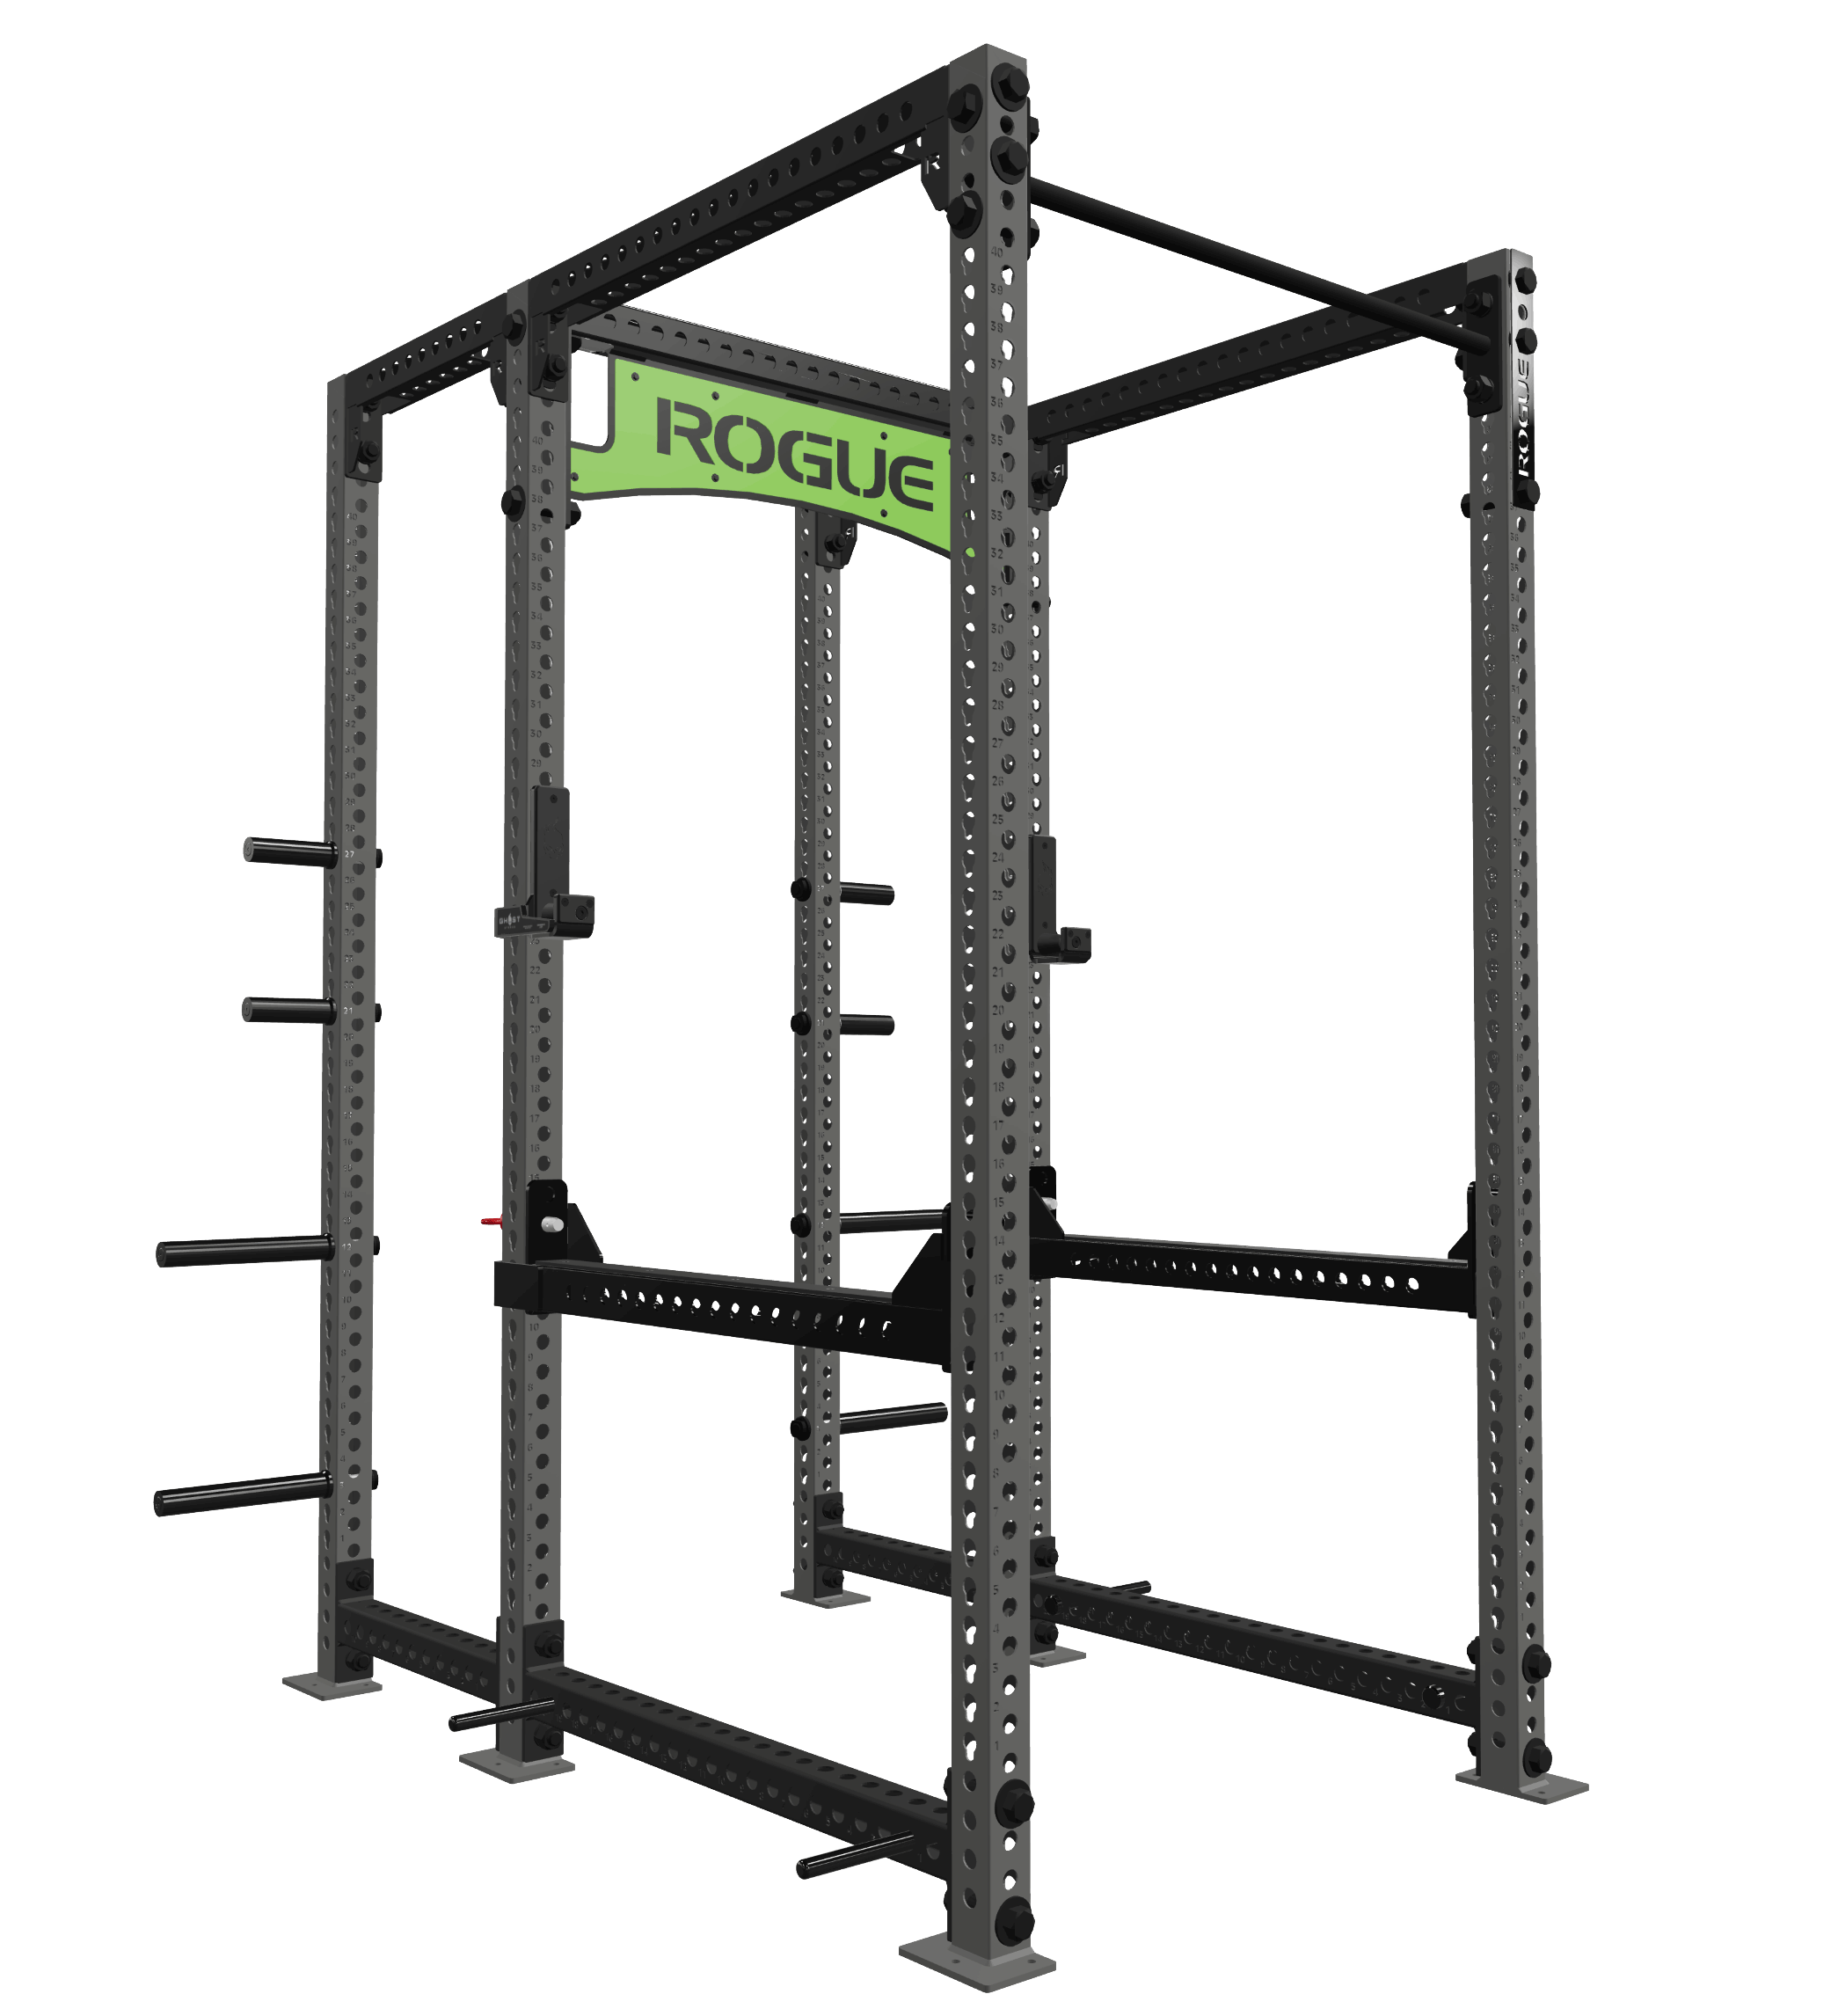
A standard barbell is just over seven feet long, and it sets the geometry of the whole room. The rack needs loading clearance at both bar ends — enough to slide a 450 mm bumper plate on without threading it between the upright and a wall — plus room to walk around behind the rack, and a clear zone in front where the bar actually travels. Plan the rack area as a lane, not a footprint: the equipment occupies a rectangle, but training occupies the space around it.
Ceiling height is the constraint you cannot renovate away. The IRC requires habitable rooms to have a ceiling of at least 7 feet, with basements allowed down to 6 ft 8 in and beams projecting to 6 ft 4 in. That is a habitability floor, not a training spec — code guarantees you can stand up, not press a bar overhead or turn a jump rope. There is no standard for lifting clearance; as a practical matter, measure your tallest lifter with a bar locked out overhead and add margin, and check the specific spot, because ducts and low beams matter more than the nominal height.
Circulation is the quiet layout failure. Cardio equipment, storage, and the door should all be reachable without crossing the bar path or the drop zone. Put the cardio line against a wall, keep an open floor area for warm-ups and accessory work, and let the walking route hug the perimeter. A room you have to squeeze through resets itself into a storage room within a year.
Mirrors are layout, not decoration — they are how you check position without a coach. One detail worth knowing: the IRC's safety-glazing rules contain an exception for mirrors mounted on a surface with continuous backing, so a large glued-to-the-wall gym mirror is generally fine in ordinary glass. The configuration that deserves suspicion is the big unbacked mirror leaning against a wall — the code exception assumes support that a leaning mirror doesn't have, and a struck or toppled sheet of untempered glass is a genuinely bad failure mode.
Floor Loading, Impact and Vibration
Residential floors are designed to a minimum uniformly distributed live load of 40 pounds per square foot in habitable rooms and 30 in sleeping rooms under the IRC. For comparison, the commercial building code puts gymnasium floors at 100 psf. A home gym is not legally required to meet the commercial number — but the gap between the two is the honest description of the situation: a bedroom floor was never intended for a use the code files under gymnasium.
The uniform number also isn't the whole problem. A loaded rack concentrates weight onto four small feet, a lifter and a heavy barbell stack several hundred pounds onto a few square feet of stance, and a dropped deadlift is a dynamic impact, not a static load. On a slab-on-grade floor — a garage, most basements — none of this is a structural concern; concrete on earth shrugs it off, and your problems are surface protection and noise. On a wood-framed floor over living space, it is worth taking seriously: place the rack and any drop zone across joists and near a bearing wall, keep dropped work light, and if the plan involves heavy dropped lifts upstairs, have a structural engineer look at the framing before the equipment arrives. That visit costs a fraction of what it prevents.
Impacts also travel. A dropped bar rings through framing as structure-borne sound and perceptible vibration — felt two rooms away, rattling fixtures on shared walls. The mitigation logic is mass and decoupling at the point of impact: a lifting platform spreads the blow, dense rubber absorbs part of it, and in serious cases acoustical engineers use floating-floor assemblies that isolate the training surface from the structure. That last tier is established engineering practice rather than a codified requirement, and for most home gyms the platform-plus-rubber tier is the right amount of solution.
Flooring Materials and Indoor Air Quality
Gym flooring has four jobs: protect the slab or subfloor, give lifts a stable footing, absorb some impact, and clean up easily. Density is the property people get wrong — a lifting surface should be firm underfoot, not soft. Squishy foam tiles feel premium in the showroom and rob stability under a loaded bar.
Rubber is the default for good reasons, and it comes in two distinct materials. Virgin rubber is manufactured from new compound — consistent, lower-odor, more expensive. Recycled rubber is made from processed tires — cheaper, heavier on odor, and more variable, because the input material is whatever the tires were. Cork earns a place in low-impact zones — mobility and bodyweight areas — where its acoustics and feel matter more than crush resistance.
The air-quality question deserves a straight answer, because rubber flooring sits in a room where you breathe hard. Recycled rubber can off-gas volatile compounds, most noticeably as the tire smell that can linger for weeks. The best federal evidence on recycled tire rubber is the EPA and CDC's Federal Research Action Plan, which found the expected chemicals present in the material but exposures likely limited. Two honest caveats: that research studied crumb-rubber turf infill, not the vulcanized tiles sold for gyms, and the agencies are explicit that it is not a risk assessment. It neither clears nor condemns gym flooring specifically.
What you can act on is emissions certification. California's CDPH Standard Method v1.2 is the chamber test behind the major low-emission labels: FloorScore (hard flooring, certified by SCS) and Greenguard Gold (UL) both test products against its thresholds. Read the labels for what they are: a certified floor has measured VOC emissions below defined limits in a standard test — not zero emissions, and not a general safety verdict. Uncertified bargain rubber — including the horse-stall mats the forums recommend — may be identical material or may not; the certificate is the only way to know, and its absence is what the discount buys. If you go uncertified, ventilate hard after installation and let the odor phase pass before the room becomes your daily air supply.
Ventilation, Cooling and Humidity
Training multiplies you as a source. Resistance work runs roughly 3.5 to 6 METs — several times resting metabolism — and hard conditioning goes well beyond, with carbon dioxide output rising roughly in proportion. A closed spare room fills accordingly: field studies of occupied gyms routinely measure CO₂ well past 1,000 ppm. The felt version is familiar to anyone who has trained in a sealed garage: the back half of the session gets heavy in a way the programming doesn't explain.
The standards make the mismatch concrete. ASHRAE 62.1 — the commercial ventilation standard — specifies 7.5 cfm of outdoor air per person for weight rooms and 20 for aerobics rooms (2022 edition), plus an area component. Homes are ventilated under ASHRAE 62.2 at whole-house rates that assume people at rest. A home gym is, in ventilation terms, a small commercial occupancy inside a residentially ventilated box — which is why the fix is mechanical: an exhaust fan with a makeup path, a dedicated fresh-air feed, or at minimum a real cross-breeze from openable windows and a door. A CO₂ monitor tells you whether whatever you did is working; the full stack of options lives in the Air guide.
Heat and moisture are the same problem in a second currency. A training body dumps sensible heat and water vapor continuously; garages swing with the seasons and basements hold relative humidity against you, condensing on cold slabs and corroding bare steel. Thermal-comfort standards won't hand you a gym setpoint — ASHRAE 55 caps its scope at 4.0 met even in the expanded 2023 edition, and hard training pushes past the range where its comfort models are reliable. The practical spec is capacity rather than a number: enough cooling to hold the room steady through a session (a mini-split is the usual retrofit answer), dehumidification in basements, and heat in winter garages so cold hands and cold bar steel don't decide your schedule.
Lighting, Daylight and Glare
The professional reference here is the IES's RP-6-24, Lighting Sports and Recreational Areas, which sets illuminance targets by class of play. The principles that survive translation to a home gym: plenty of light, delivered evenly, from more than one point. A single bright fixture in the middle of the ceiling produces exactly what you don't want — harsh shadows, a hot spot, and dark corners the room visually surrenders to storage.
One sightline is unique to this room: on a bench, you spend real time looking straight up. A bare-source fixture directly over the bench puts full-brightness glare into your eyes at the moment you're pressing. No standard addresses this — it's a design point, not a cited requirement — but the fix is free at layout time: keep fixtures off the bar line, or use diffused and indirect sources where lifts happen under them.
The old version of this guide recommended 5000K-plus cool-white light across the board. That was too universal. Bright, cooler light supports alertness, and it suits a room trained in the morning; a gym used mostly at 9 p.m. is working against your evening wind-down at that color temperature. Match the light to when you train, favor high color-rendering sources, and if daylight is available, take it — with attention to where low sun lands, since east and west glass puts glare on mirrors and screens at exactly the hours home gyms get used. Color temperature, circadian timing, and controls are covered properly in the Light guide.
Acoustics and Sound Isolation
A gym has two acoustic problems, and they need opposite tools. Inside the room, hard parallel surfaces — slab, drywall, mirror — make a bright, echoey box where music turns to mush and every plate clink rings. Absorption fixes that: acoustic panels, wool felt, even dense storage along a wall. It is the cheap, satisfying half of the problem.
Keeping sound away from the rest of the house is the hard half, because the worst offender doesn't travel through air. A dropped bar transmits through structure, and the standard metrics undersell it. Impact Insulation Class — which the commercial code requires at IIC 50 between dwelling units — is measured with a standardized tapping machine, and the classification standard says plainly that it applies strictly to that excitation and does not cover sounds below 100 Hz. A 160-pound deadlift hitting the floor is precisely the low-frequency, high-energy impact the metric wasn't built for. (In a detached house the IRC imposes no IIC requirement at all — the number is a benchmark for shared-wall living, not an obligation.)
So attack the impact at the source, in order of effectiveness: don't drop what can be set down; put mass under what does drop — platform and dense rubber; and reserve structural decoupling, the floating-floor tier, for the cases that genuinely need it, like a gym over occupied rooms or against a shared wall. Absorption panels do nothing for structure-borne transmission, which is the most common money-wasting confusion in this category. How sound moves through buildings — airborne versus structure-borne, flanking paths, what STC does and doesn't mean — is the subject of the Sound guide.
Electrical, Data, Displays and Audio
The two rooms most gyms move into — garages and basements — are exactly where the electrical code has tightened. Under the 2020 NEC, receptacles in garages and basements — finished basements included, as of that cycle — require GFCI protection. Which code edition applies depends on what your state has adopted, but if you're adding circuits for a gym, GFCI is the assumption to build on.
Motorized cardio is the load that matters. Large treadmills commonly specify a dedicated 20-amp circuit in their installation manuals — a manufacturer requirement rather than a code rule, but ignoring it is how a treadmill sharing a circuit with a freezer becomes a recurring mystery trip. Count the simultaneous loads honestly: treadmill plus fan plus mini-split plus a display is a different panel conversation than a rack and some iron, which need no electricity at all.
Plan outlets where equipment actually stands, so cords never cross a walking lane or a bar path. Smart trainers and wall displays are happier hardwired — if walls are open during a renovation, pulling ethernet and speaker wire costs almost nothing and removes the streaming dropout mid-interval problem permanently. Ceiling or wall-mounted speakers beat a shelf Bluetooth unit for even coverage at conversation-safe volume, and they free the surfaces the gym will want for storage anyway.
Storage and Visual Order
Storage is floor space by other means. Every plate, kettlebell, and band living on the ground shrinks the usable training area and turns resetting the room into a chore. Vertical storage — plate pegs on the rack, wall-mounted bar hangers, a kettlebell shelf — returns that floor and cuts the setup friction that quietly erodes attendance.
Treat loaded storage as structure. A wall shelf carrying several hundred pounds of plates is a structural attachment, not a closet accessory: anchor into studs or masonry per the hardware's rating, and on framed floors remember that a loaded storage wall concentrates weight the same way a rack does. Freestanding A-frames and carts trade a little floor for zero anchoring risk, which is the right trade in rentals.
The visual-order argument is practical, not aesthetic. A room that resets to ready in two minutes is a room you walk into at six in the morning; one where the first task is excavating the bench is not. Closed storage for the small chaos — bands, straps, chalk, clips — earns its cost in how the room reads every time you open the door.
Three Specification Levels
Not every gym needs every system in this guide. What matters is knowing which level you're specifying to, and not paying Level 3 money for one system while a Level 1 gap undermines it — the isolated floor is wasted if the room still has no ventilation.
Level 1 — The Borrowed Room
A garage or spare room, used mostly as found. Certified rubber over the existing slab, a fan and an open door for airflow, portable equipment, vertical storage. Accept the limits honestly: seasonal temperature swings, no isolation, and no heavy drops on framed floors.
Level 2 — The Committed Retrofit
The room is permanently a gym. A mini-split for climate, mechanical ventilation or a dedicated fresh-air path, a dedicated circuit for cardio, layered flooring with a platform, absorption on the walls, planned lighting, built storage. The level most serious home gyms should target.
Level 3 — The Purpose-Built Room
Designed at the drawing stage. Floor structure sized for the use, ceiling height chosen rather than inherited, ventilation sized to occupancy, isolation assemblies where the plan needs them, integrated power, data, and AV. The marginal cost is small while the walls are open — which is the argument for deciding early.
Commissioning and Final Testing
Building science has a name for verifying that systems do what the design claimed: commissioning. Homes rarely get it; home gyms almost never do. It costs one honest session and a few instruments, and it converts every assumption this guide encouraged you to make into a measurement.
The Shakedown Session
Recommended Products and Systems
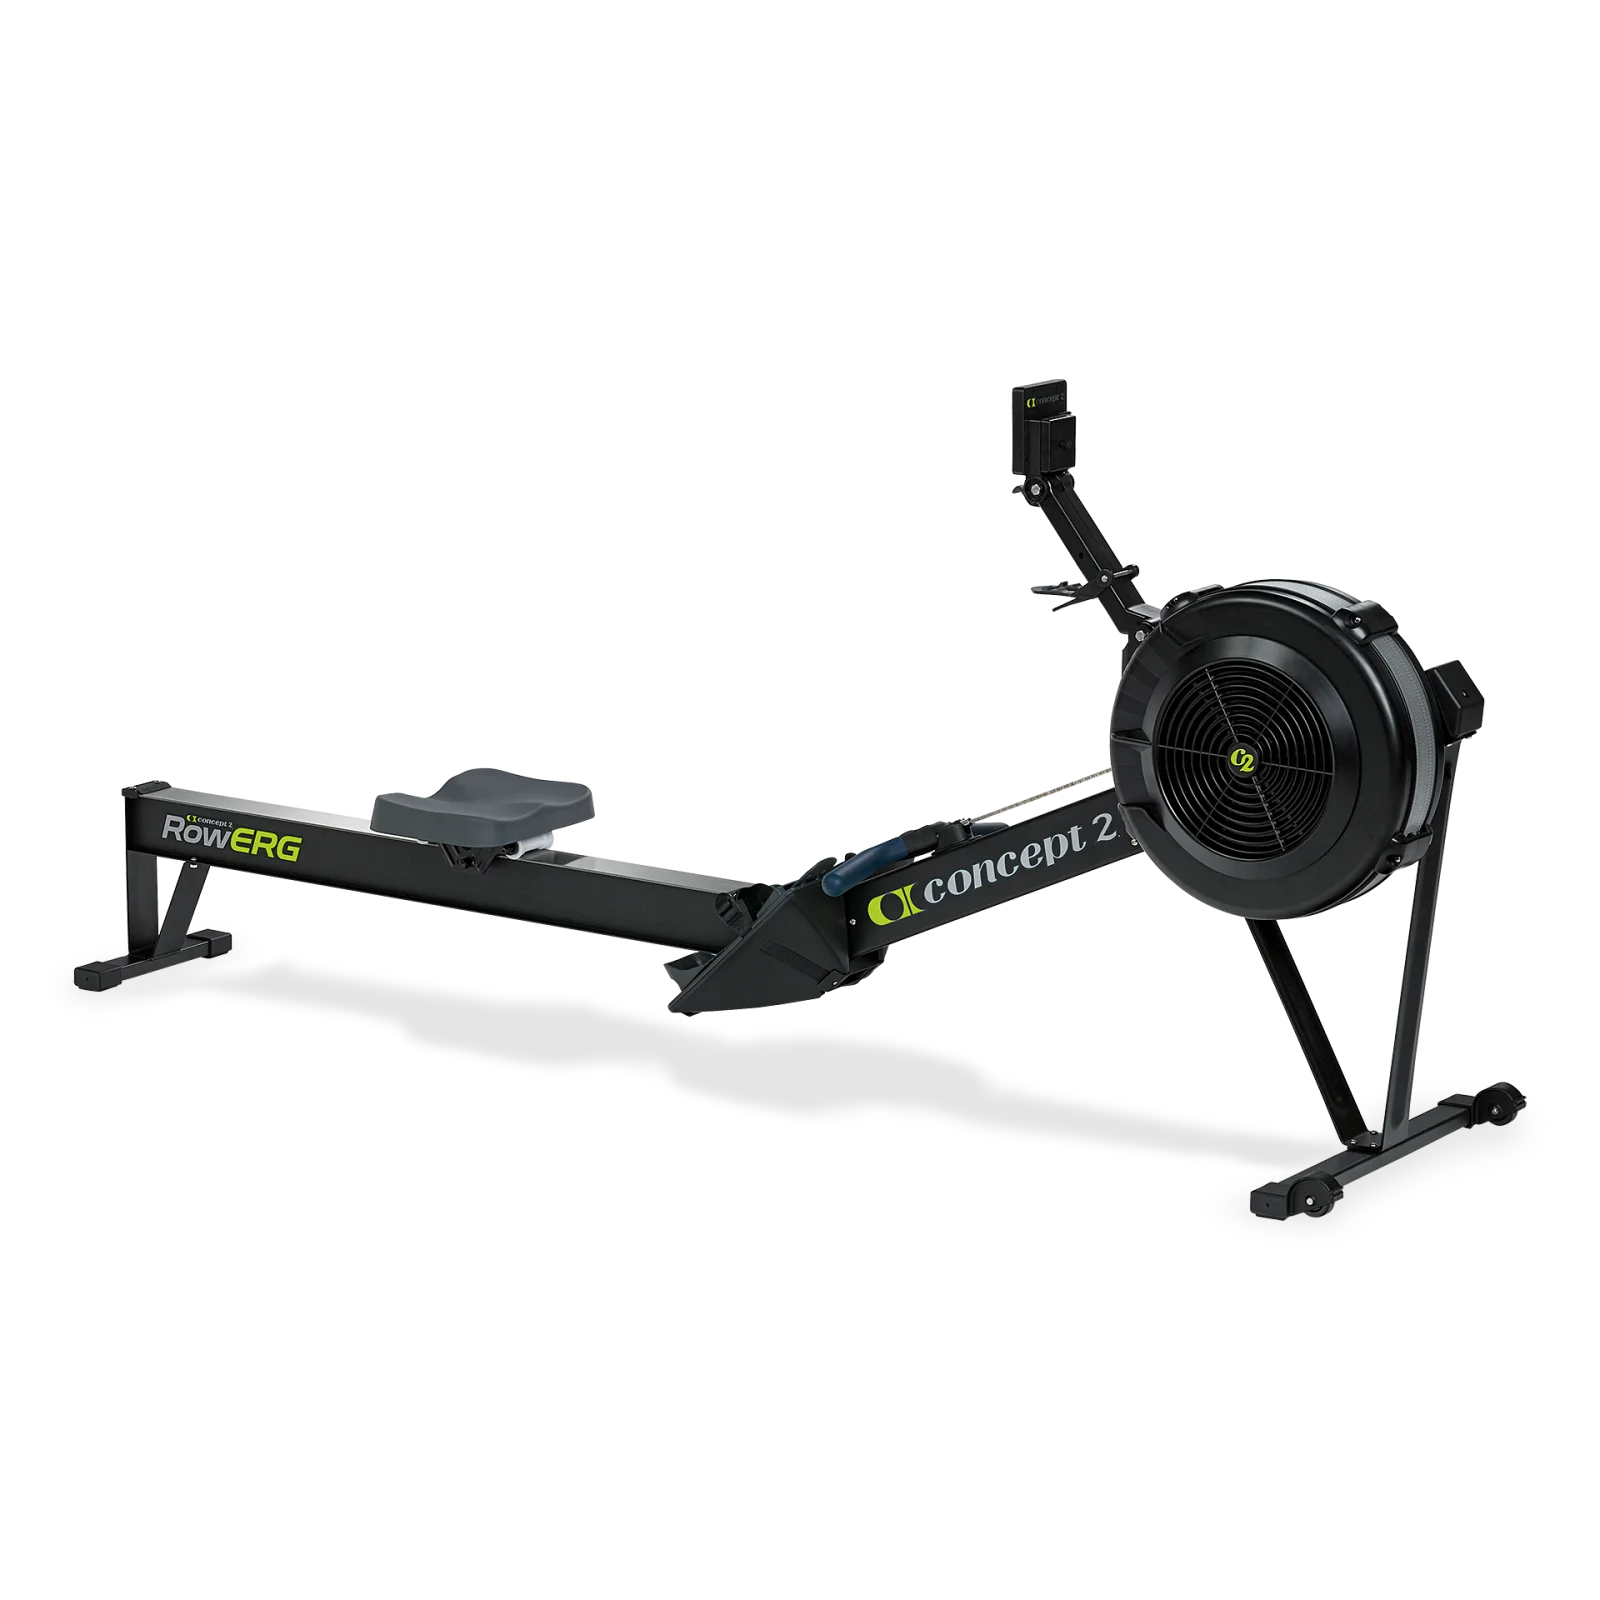
Equipment gets one section because it's the well-solved part. The selection principles are stable: buy the rack, bar, and plates as decade-scale purchases from makers with attachment ecosystems; treat smart strength systems as a complement for space-constrained rooms or cable work, not a replacement for iron, and factor in their subscriptions and their dependence on the company staying in business; pick cardio for the training you'll do, not the training you admire. Every recommendation below links to a full profile, and the Strength directory carries the complete catalog with racks, free weights, smart systems, and cardio each a click deep.


Where to Start
Converting a garage: flooring, airflow, and power, in that order. Certified rubber over the slab, a real ventilation answer before summer proves the point, and a dedicated circuit if motorized cardio is coming. The slab is your structural free pass — use it for the heavy lifting.
Converting a basement: humidity first — a dehumidifier and a hygrometer before anything expensive arrives. Then lighting, which decides whether the room feels like a gym or a storage area with equipment in it, and GFCI-protected circuits, which current code expects down there anyway.
Building or renovating: get the room into the drawings now. Floor structure, ceiling height, ventilation, and isolation cost little at the framing stage and multiples of that as retrofits. Specify to Level 3 where the structure is concerned — you can always upgrade equipment later; you cannot easily raise a ceiling.
Sources
- International Residential Code, Table R301.5 — Minimum Uniformly Distributed Live Loads (Washington State adoption)
- International Building Code 2021, Table 1607.1 — Minimum Live Loads (gymnasiums, 100 psf)
- ANSI/ASHRAE Standard 62.1-2022, Table 6-1 — Minimum Ventilation Rates in Breathing Zone (Addendum w)
- 2024 Adult Compendium of Physical Activities — Conditioning Exercise MET values
- Indoor air quality time-series measurements in a training gym (PMC8205592)
- Indoor air quality in health clubs — particles and gaseous pollutants, Frontiers in Public Health (2023)
- ANSI/ASHRAE Standard 55-2023 — Thermal Environmental Conditions for Human Occupancy (fact sheet; scope to 4.0 met)
- ANSI/IES RP-6-24 — Recommended Practice: Lighting Sports and Recreational Areas
- ASTM E989 — Standard Classification for Determination of Impact Insulation Class (scope limitations, §4.2)
- International Building Code — Section 1206, Sound Transmission (STC/IIC between dwelling units)
- U.S. EPA / CDC-ATSDR — Federal Research Action Plan on Recycled Tire Crumb (Parts 1 and 2)
- California Department of Public Health — Standard Method v1.2 for VOC emissions testing, and programs that use it
- FloorScore — Resilient Floor Covering Institute, certified by SCS Global Services
- UL Solutions — Greenguard Certification (UL 2818)
- NEC 2020 — GFCI protection requirements, Section 210.8 (IAEI Magazine analysis)
- International Residential Code, Section R305 — Ceiling Height
- International Residential Code, Section R308 — Glazing (hazardous locations and mirror backing exception)